1:55 PM
 dao viet dung

<iframe width="560" height="315" src="https://www.youtube.com/embed/uca1upYp3nw" frameborder="0" allow="autoplay; encrypted-media" allowfullscreen></iframe>


Replace these every slider sentences with your featured post descriptions.Go to Blogger edit html and find these sentences.Now replace these with your own descriptions.

Replace these every slider sentences with your featured post descriptions.Go to Blogger edit html and find these sentences.Now replace these with your own descriptions.

Replace these every slider sentences with your featured post descriptions.Go to Blogger edit html and find these sentences.Now replace these with your own descriptions.



We all are very familiar with Apache web server, it is a very popular web server to host your web files or your website on the web. Here are some links which can help you to configure Apache web server on your Linux box.
Here in this tutorial, I’ll cover some main tips to secure your web server. Before you apply these changes in your web server, you should have some basics of the Apache server.
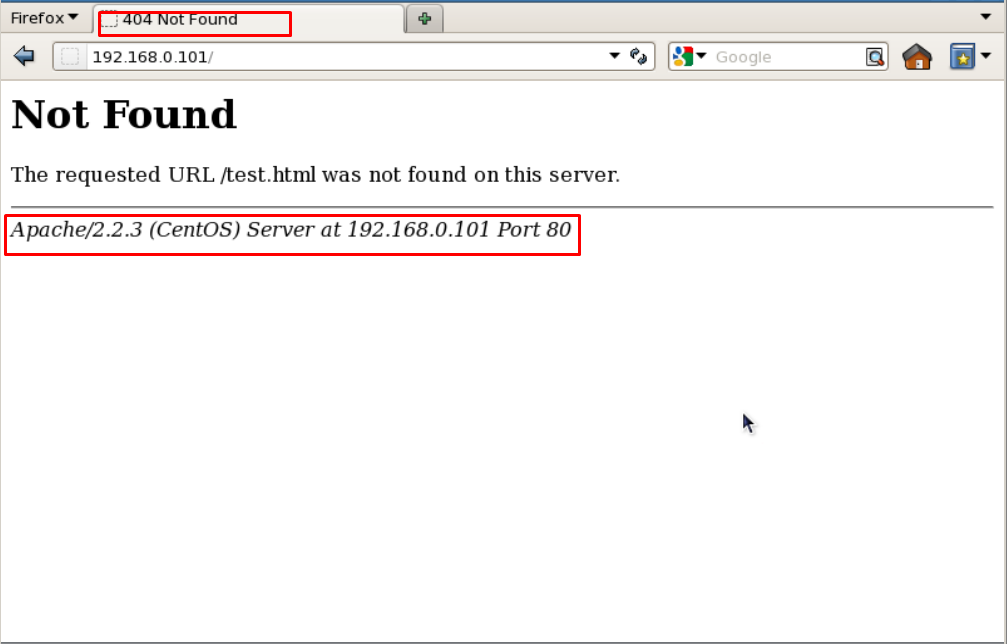
When you install Apache with source or any other package installers like yum, it displays the version of your Apache web server installed on your server with the Operating system name of your server in Errors. It also shows the information about Apache modules installed in your server.
Show Apache Version
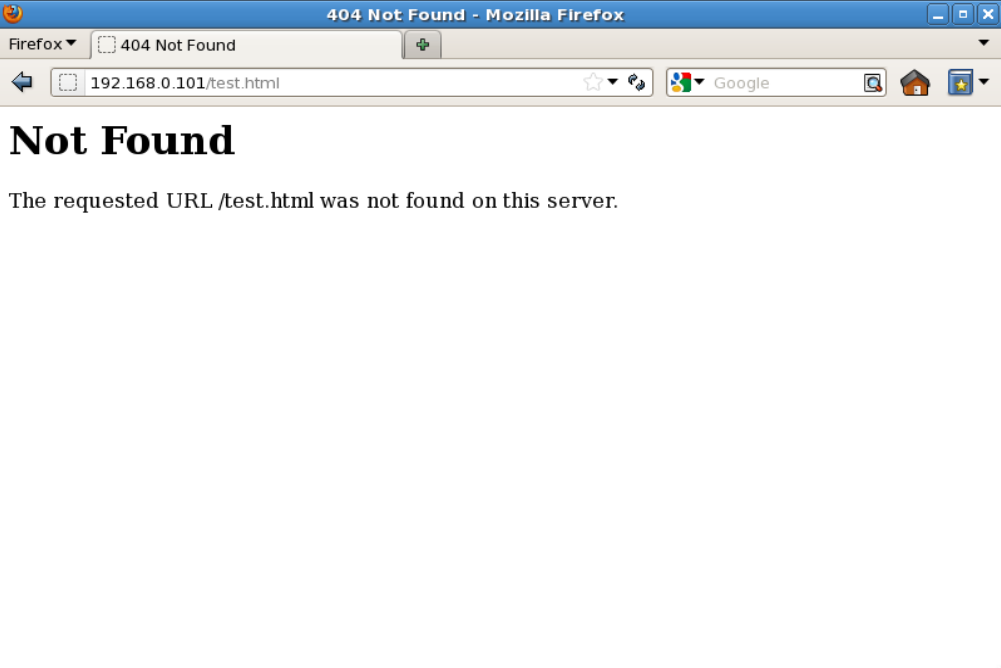
In above picture, you can see that Apache is showing its version with the OS installed in your server. This can be a major security threat to your web server as well as your Linux box too. To prevent Apache to not to display these information to the world, we need to make some changes in Apache main configuration file.
Open configuration file with vim editor and search for “ServerSignature“, its by default On. We need to Off these server signature and the second line “ServerTokens Prod” tells Apache to return only Apache as product in the server response header on the every page request, It suppress the OS, major and minor version info.
# vim /etc/httpd/conf/httpd.conf (RHEL/CentOS/Fedora)
# vim /etc/apache/apache2.conf (Debian/Ubuntu)
ServerSignature Off
ServerTokens Prod
# service httpd restart (RHEL/CentOS/Fedora)
# service apache2 restart (Debian/Ubuntu)
Hide Apache Version
By default Apache list all the content of Document root directory in the absence of index file. Please see the image below.
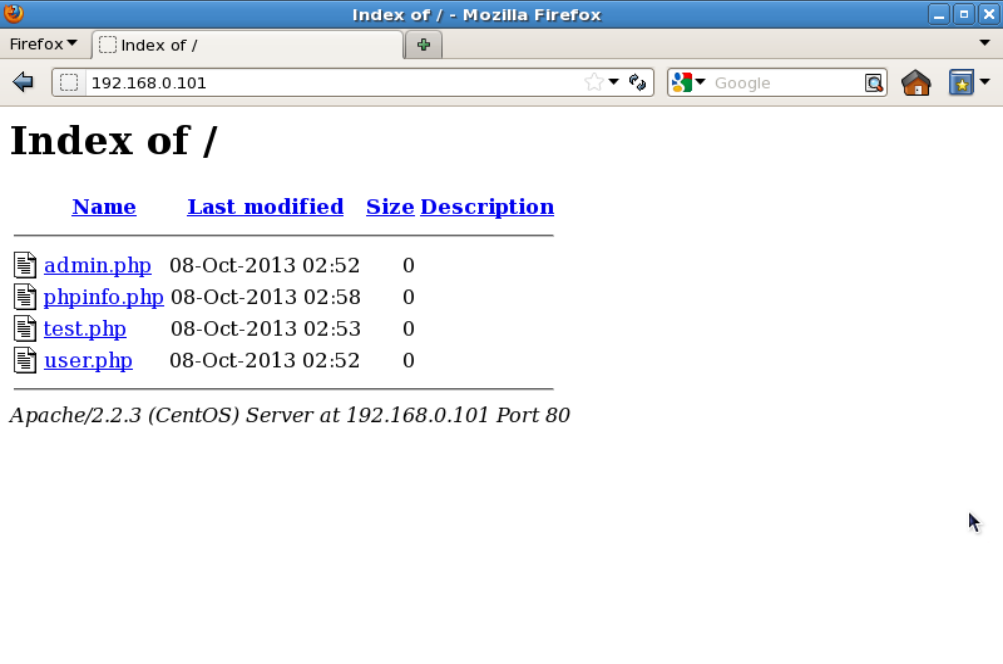
We can turn off directory listing by using Options directive in configuration file for a specific directory. For that we need to make an entry in httpd.conf or apache2.conf file.
<Directory /var/www/html>
    Options -Indexes
</Directory>
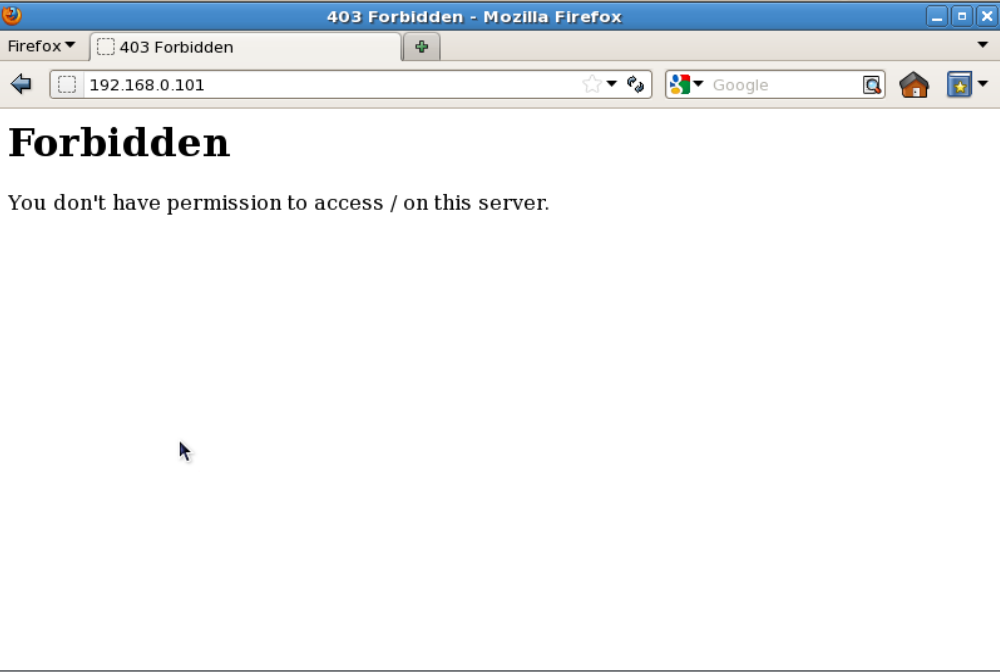
Apache developer community is continuously working on security issues and releasing its updated version with new security options. So It is always recommended to use the latest version of Apache as your web server.
To check Apache version: You can check your current version with httpd -v command.
# httpd -v
Server version: Apache/2.2.15 (Unix)
Server built:   Aug 13 2013 17:29:28
You can update your version with the following command.
# yum update httpd
# apt-get update apache2
It is also recommended to keep your Kernel and OS updated to the latest stable releases if you are not running any specific application which works only on specific OS or Kernel.
It’s always good to minor the chances of being a victim of any web attack. So it’s recommended to disable all those modules that are not in use currently. You can list all the compiled modules of web server, using following command.
# grep LoadModule /etc/httpd/conf/httpd.conf

# have to place corresponding `LoadModule' lines at this location so the
# LoadModule foo_module modules/mod_foo.so
LoadModule auth_basic_module modules/mod_auth_basic.so
LoadModule auth_digest_module modules/mod_auth_digest.so
LoadModule authn_file_module modules/mod_authn_file.so
LoadModule authn_alias_module modules/mod_authn_alias.so
LoadModule authn_anon_module modules/mod_authn_anon.so
LoadModule authn_dbm_module modules/mod_authn_dbm.so
LoadModule authn_default_module modules/mod_authn_default.so
LoadModule authz_host_module modules/mod_authz_host.so
LoadModule authz_user_module modules/mod_authz_user.so
LoadModule authz_owner_module modules/mod_authz_owner.so
LoadModule authz_groupfile_module modules/mod_authz_groupfile.so
LoadModule authz_dbm_module modules/mod_authz_dbm.so
LoadModule authz_default_module modules/mod_authz_default.so
LoadModule ldap_module modules/mod_ldap.so
LoadModule authnz_ldap_module modules/mod_authnz_ldap.so
LoadModule include_module modules/mod_include.so
LoadModule log_config_module modules/mod_log_config.so
LoadModule logio_module modules/mod_logio.so
LoadModule env_module modules/mod_env.so
LoadModule ext_filter_module modules/mod_ext_filter.so
....
Above is the list of modules that are enabled by default but often not needed: mod_imap, mod_include, mod_info, mod_userdir, mod_autoindex. To disable the particular module, you can insert a “#” at the beginning of that line and restart the service.
With a default installation Apache runs its process with user nobody or daemon. For security reasons it is recommended to run Apache in its own non-privileged account. For example: http-web.
# groupadd http-web
# useradd -d /var/www/ -g http-web -s /bin/nologin http-web
Now you need to tell Apache to run with this new user and to do so, we need to make an entry in /etc/httpd/conf/httpd.conf and restart the service.
Open /etc/httpd/conf/httpd.conf with vim editor and search for keyword “User” and “Group” and there you will need to specify the username and groupname to use.
User http-web
Group http-web
We can restrict access to directories with “Allow” and “Deny” options in httpd.conf file. Here in this example, we’ll be securing root directory, for that by setting the following in the httpd.conf file.
<Directory />
   Options None
   Order deny,allow
   Deny from all
</Directory>
These two modules “mod_security” and “mod_evasive” are very popular modules of Apache in terms of security.
Where mod_security works as a firewall for our web applications and allows us to monitor traffic on a real time basis. It also helps us to protect our websites or web server from brute force attacks. You can simply install mod_security on your server with the help of your default package installers.
$ sudo apt-get install libapache2-mod-security
$ sudo a2enmod mod-security
$ sudo /etc/init.d/apache2 force-reload
# yum install mod_security
# /etc/init.d/httpd restart
mod_evasive works very efficiently, it takes one request to process and processes it very well. It prevents DDOS attacks from doing as much damage. This feature of mod_evasive enables it to handle the HTTP brute force and Dos or DDos attack. This module detects attacks with three methods.
mod_evasive can be installed directly from the source. Here, we have an Installation and setup guide of these modules which will help you to set up these Apache modules in your Linux box.
Protect Apache using Mod_Security and Mod_evasive
By default Apache follows symlinks, we can turn off this feature with FollowSymLinks with Options directive. And to do so we need to make the following entry in main configuration file.
Options -FollowSymLinks
And, if any particular user or website need FollowSymLinks enable, we can simply write a rule in “.htaccess” file from that website.
# Enable symbolic links
Options +FollowSymLinks
Note: To enable rewrite rules inside “.htaccess” file “AllowOverride All” should be present in the main configuration globally.
We can turn off server side includes (mod_include) and CGI execution if not needed and to do so we need to modify main configuration file.
Options -Includes
Options -ExecCGI
We can do this for a particular directory too with Directory tag. Here In this example, we are turning off Includes and Cgi file executions for “/var/www/html/web1” directory.
<Directory "/var/www/html/web1">
Options -Includes -ExecCGI
</Directory>
Here are some other values with can be turned On or off with Options directive.
By default Apache has no limit on the total size of the HTTP request i.e. unlimited and when you allow large requests on a web server its possible that you could be a victim of Denial of service attacks. We can Limit the requests size of an Apache directive “LimitRequestBody” with the directory tag.
You can set the value in bytes from 0 (unlimited) to 2147483647 (2GB) that are allowed in a request body. You can set this limit according to your site needs, Suppose you have a site where you allows uploads and you want to limit the upload size for a particular directory.
Here in this example, user_uploads is a directory which contains files uploaded by users. We are putting a limit of 500K for this.
<Directory "/var/www/myweb1/user_uploads">
   LimitRequestBody 512000
</Directory>
Well, it’s true that you cannot completely protect your web site from DDos attacks. Here are some directives which can help you to have a control on it.
Apache allows you to logging independently of your OS logging. It is wise to enable Apache logging, because it provides more information, such as the commands entered by users that have interacted with your Web server.
To do so you need to include the mod_log_config module. There are three main logging-related directives available with Apache.
You can also use them for a particular website it you are doing Virtual hosting and for that you need to specify it in the virtual host section. For example, here is the my website virtual host configuration with logging enabled.
<VirtualHost *:80>
DocumentRoot /var/www/html/example.com/
ServerName www.example.com
DirectoryIndex index.htm index.html index.php
ServerAlias example.com
ErrorDocument 404 /story.php
ErrorLog /var/log/httpd/example.com_error_log
CustomLog /var/log/httpd/example.com_access_log combined
</VirtualHost>
Last, but not the least SSL certificates, you can secure your all the communication in an encrypted manner over the Internet with SSL certificate. Suppose you have a website in which people login by proving their Login credentials or you have an E- Commerce website where people provides their bank details or Debit/Credit card details to purchase products, by default your web server send these details in plain – text format but when you use SSL certificates to your websites, Apache sends all this information in encrypted text.
You can purchase SSl certificates from So many different SSL providers like namecheap.com. If you are running a very small web business and do not willing to purchase an SSL certificate you can still assign a Self signed certificate to your website. Apache uses the mod_ssl module to support SSL certificate.
# openssl genrsa -des3 -out example.com.key 1024
# openssl req -new -key example.com.key -out exmaple.csr
# openssl x509 -req -days 365 -in example.com.com.csr -signkey example.com.com.key -out example.com.com.crt
Once your certificate has been created and signed. Now you need to add this in Apache configuration. Open main configuration file with vim editor and add the following lines and restart the service.
<VirtualHost 172.16.25.125:443>
        SSLEngine on
        SSLCertificateFile /etc/pki/tls/certs/example.com.crt
        SSLCertificateKeyFile /etc/pki/tls/certs/example.com.key
        SSLCertificateChainFile /etc/pki/tls/certs/sf_bundle.crt
        ServerAdmin ravi.saive@example.com
        ServerName example.com
        DocumentRoot /var/www/html/example/
        ErrorLog /var/log/httpd/example.com-error_log
        CustomLog /var/log/httpd/example.com-access_log common
</VirtualHost>
Open up your browser, type https://example.com, and you will be able to see the new self-signed certificate.
These are few security tips that you can use to secure your Apache web server installation. For more useful security tips and ideas, see the official online documentation of Apache HTTP Server.